Moka Pot
Moka Pot
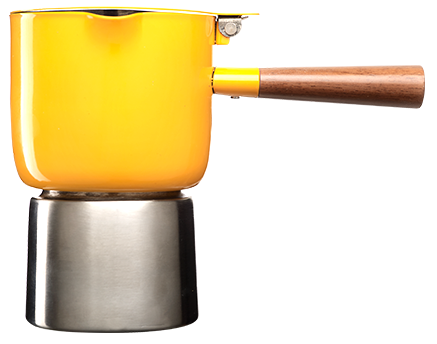
A compact coffee maker that looks stunning and brews delicious coffee. Discover the ultimate guide on how to brew coffee using the Araku Moka Pot. Watch video here.
Parts

A Moka Pot consists of three main parts:
- The Water Chamber
- The Filter
- The Brew Chamber
The filter sits in the water chamber which then screws on to the brew chamber. The water chamber is designed to hold the water where it will begin to boil and create pressure. This will push the water through the filter thus facilitating the brewing process.
Ingredients
- Filtered Water (room temperature or warm)
- Araku coffee powder – Araku Moka grind/Very fine grind
- If starting with whole beans, begin by grinding 10 - 13 grams, to very fine grind.
Process
Separate the brew chamber from the water chamber by twisting the upper half of the Araku Moka Pot
Remove the metal filter from the water chamber of the Moka Pot
You will need to fill the water chamber with water and make sure to fill it just up until the pressure valve. If you want a stronger brew, you need to fill the water chamber with less water.
Do’s & Dont’s:
Do use ONLY WATER in the brew chamber.
Do NOT USE MILK in the brew chamber. You CAN USE room temperature or warm water.
Insert the metal filter in the water chamber, and fill it with 10-13 grams of fine ground coffee. Tap gently once against the counter for the powder to loosely settle in the filter. (see video)
Do’s & Dont’s:
Do NOT PRESS the coffee into the filter.
Do NOT PACK the coffee tightly into the filter using a spoon or any other device.

Assemble the brew chamber. Place the assembled Moka Pot direct onto a heat source, such as a low flame induction burner or stovetop.
Do’s & Don’ts:
Do NOT USE HIGH FLAME with Moka.
Please ensure the water chamber is NOT EMPTY.
As the water boils it will pass through the filter to the top of Moka Pot that is the brew chamber. Your coffee is ready to be served - when you see the vapor being released from the pressure valve or When the sputtering stops from the brew chamber.
Do’s & Don’ts:
Please KEEP THE LID closed throughout the brewing process.
You can use the Moka Pot itself to pour the coffee directly into serving cups. Your coffee can be complemented with hot milk/sugar as per your taste preference.
Do’s & Don’ts:
Do NOT BOIL Araku Moka brew and milk together as it alters the taste profile of the coffee.